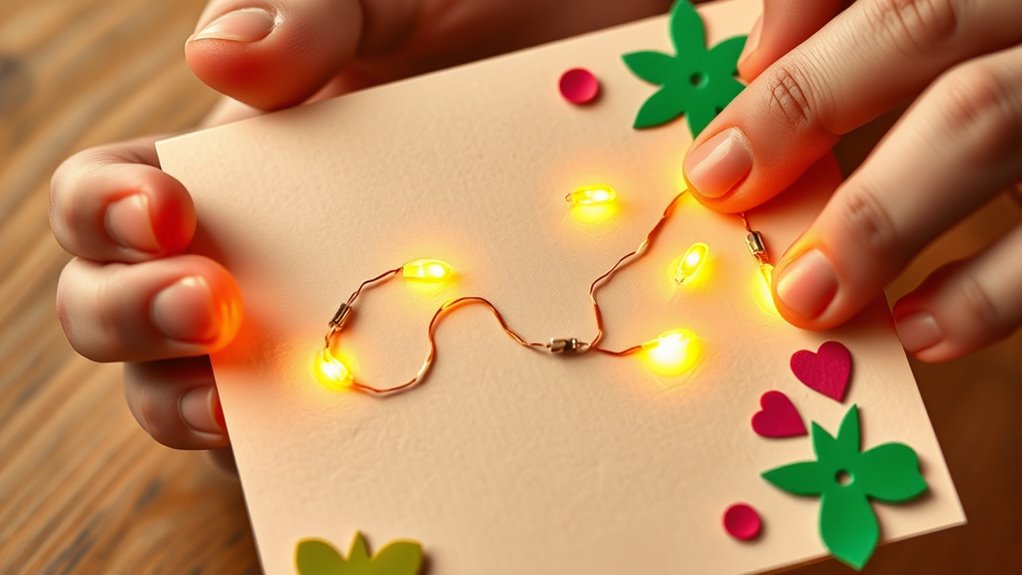

To light up a card with paper circuits, you’ll need conductive materials like copper tape, an LED, a coin cell battery, and a sturdy surface such as cardstock. Draw your design, then connect the LED to the battery using the conductive tape, ensuring proper contact. Experiment with placement and connections until your light-up card works. Keep exploring different designs—more fun and ideas await just below!
Key Takeaways
- Use conductive tape, a coin cell battery, and an LED to create simple, light-up cards suitable for kids.
- Design your card with pathways for the circuit, connecting the battery to the LED for illumination.
- Start with basic circuits, then customize with drawings, colors, and multiple LEDs for more complex projects.
- Troubleshoot by checking connections if the light doesn’t turn on, ensuring circuit continuity.
- This activity combines creativity and basic electronics, making it engaging and educational for children.
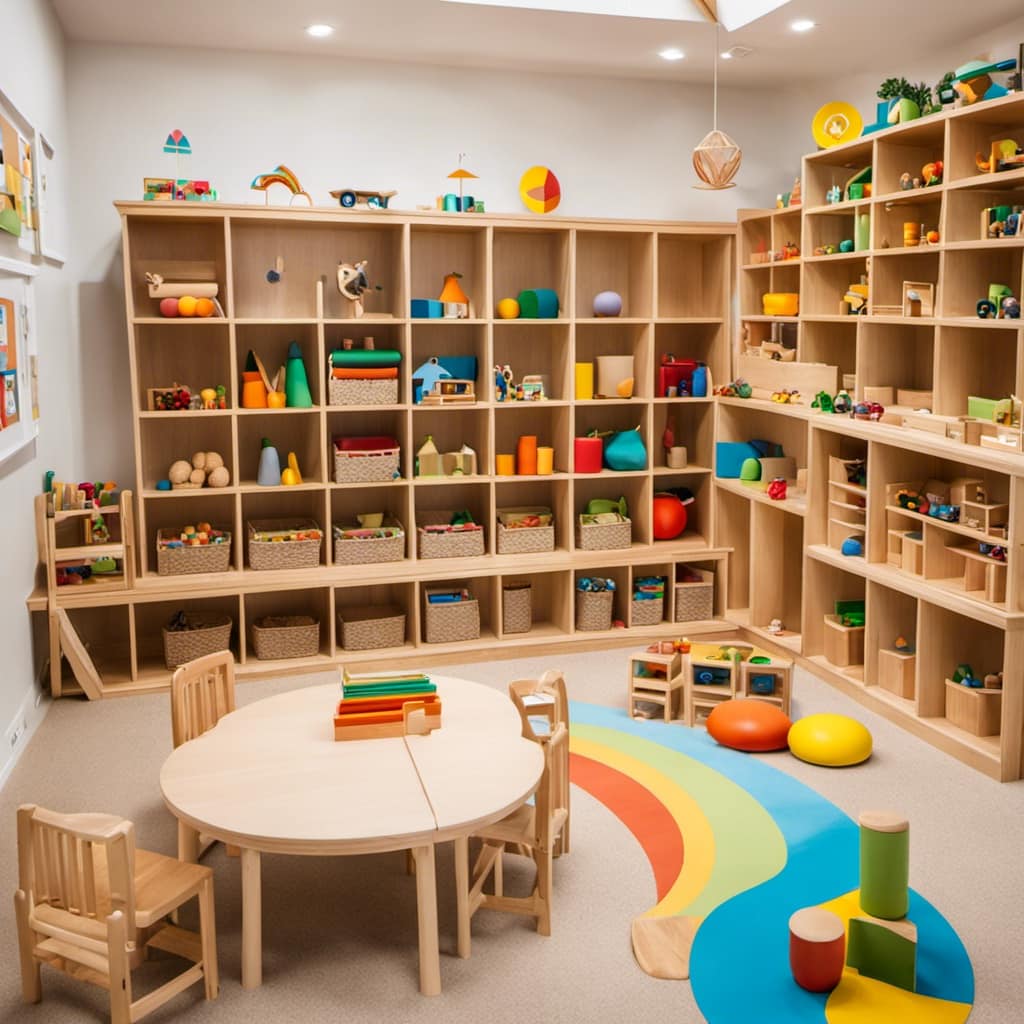
Paper circuits are a fun and simple way for kids to explore electronics and set free their creativity. When you delve into light-up card projects, you’re engaging in interactive crafting that combines art and technology. These projects are perfect for beginners because they don’t require advanced tools or skills, making them accessible and rewarding. As you start, you’ll discover that creating a paper circuit is like making a miniature, illuminated work of art that you can personalize with drawings, messages, or patterns. It’s a hands-on activity that keeps kids interested while teaching basic concepts about electricity and circuits.
Paper circuits allow kids to explore electronics creatively through simple, personalized light-up art projects.
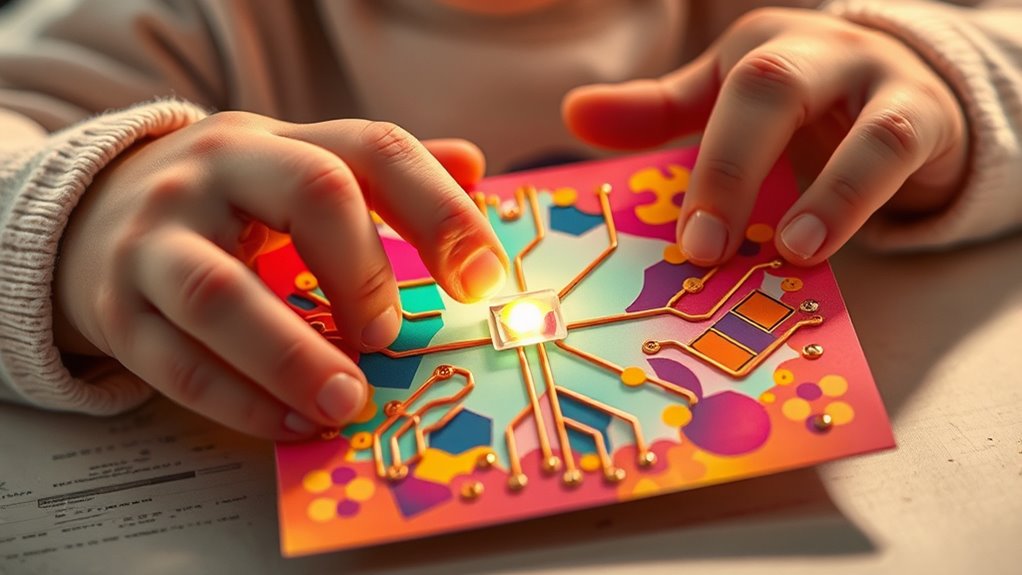
For beginner projects, all you need are some conductive materials like copper tape or aluminum foil, a coin cell battery, and a few LED lights. You can use thick cardstock, construction paper, or even repurpose old greeting cards, making it an eco-friendly activity too. The goal is to design a circuit that connects the power source to the LED, lighting up your artwork. This simple setup allows kids to understand how circuits work in a fun and visual way, fostering curiosity and problem-solving skills. Plus, since these projects are highly customizable, you can experiment with different shapes, colors, and light placements to make each card unique.
You start by drawing or decorating your card. Once your design is ready, you’ll plan where to place your circuit components. The conductive tape is laid along the paths you want the electricity to flow through, connecting the battery to the LED. When you embark on the circuit, the current flows, and the light turns on. If it doesn’t light up, you can troubleshoot by checking connections or repositioning the tape. This process helps kids learn about circuit continuity and the importance of correct connections, all while having fun. It’s a straightforward yet effective introduction to electronics that encourages experimentation and creativity.
As you progress, you can try more complex designs, adding multiple LEDs or switches to control the lights. The beauty of paper circuits is that they’re easy to modify; if something doesn’t work, you can quickly fix it or redesign your circuit. This hands-on approach makes interactive crafting exciting and educational. Kids gain confidence as they see their designs come to life, lighting up their cards in response to their efforts. Whether it’s for a holiday, birthday, or just a creative project, light-up cards made with paper circuits give kids a sense of achievement and a deeper understanding of how everyday electronics work.
Frequently Asked Questions
What Safety Precautions Should I Take With Electronic Components?
When handling electronic components, you should prioritize electronic safety by unplugging devices before working on them and avoiding direct contact with live circuits. Always handle components gently to prevent damage and use insulated tools when necessary. Keep your workspace dry, and wash your hands afterward to avoid static or dirt transfer. Following these safety tips ensures safe component handling and reduces risks of electrical shock or damage during your paper circuit projects.
Can Paper Circuits Be Used for Waterproof Projects?
You can use paper circuits for waterproof projects by focusing on waterproof materials and sealed circuit design. To keep your circuits safe from water, choose waterproof tapes or coatings, and guarantee all connections are fully sealed. Use waterproof conductive ink or paint for connections, and enclose your circuit in a waterproof container. This way, you protect your electronics while maintaining the flexibility and creativity of paper circuits.
What Age Is Suitable for Kids to Try Paper Circuits?
You can introduce paper circuits to kids around ages 8 to 12, as they have the appropriate skill levels and understanding of basic circuit concepts. Younger children might need more guidance, while older kids can explore more complex designs independently. Always consider their individual skill levels and curiosity. This activity encourages creativity and learning, making it a perfect age-appropriate project for developing STEM skills in a fun, hands-on way.
How Long Do Paper Circuit Lights Typically Last?
The paper circuit lights usually last around 20 to 50 hours, depending on your battery lifespan and LED durability. You might notice the lights dimming as the battery drains, so replacing or recharging the battery can extend the glow. LED durability also plays a role; high-quality LEDs tend to last longer without flickering or burning out. Keep an eye on your circuit to enjoy bright, fun illumination for as long as possible.
Are There Eco-Friendly Alternatives to Traditional Electronic Parts?
You’ll be glad to know eco-friendly alternatives exist; over 50% of electronic waste isn’t properly recycled. You can choose recyclable materials for your paper circuits, such as copper tape made from recycled metals, or biodegradable components like plant-based plastics. These options help reduce environmental impact, making your creative projects more sustainable. By switching to eco-friendly parts, you contribute to a healthier planet while still enjoying fun, light-up crafts.
Conclusion
Now that you’ve explored paper circuits, you can see how creating light-up cards is like bringing a tiny world to life. With just a few simple materials, you turn plain paper into a glowing masterpiece. It’s a fun, empowering activity that sparks creativity and curiosity. So go ahead—let your imagination shine bright, just like the lights in your card. Remember, every glow starts with a small spark, and yours can light up the world.