
To get started with clay animation at home, choose simple characters and create a clear story with a beginning, middle, and end. Use modeling clay and work patiently, moving your characters slowly for smooth motions. Keep your workspace clean, work on a flat surface, and use good lighting to make scenes look professional. With basic planning and practice, you’ll bring your stories to life. Continue exploring to discover more tips and tricks!
Key Takeaways
- Plan simple stories with clear scenes and characters to make animation easier for kids.
- Use storyboards or sketches to organize each shot before starting animation.
- Move clay characters slowly and carefully, taking photos after each small adjustment for smooth motion.
- Handle modeling clay with clean hands, keep water nearby for smoothing, and work on a non-stick surface.
- Use good lighting and a tidy workspace to ensure clear visuals and professional-looking scenes at home.
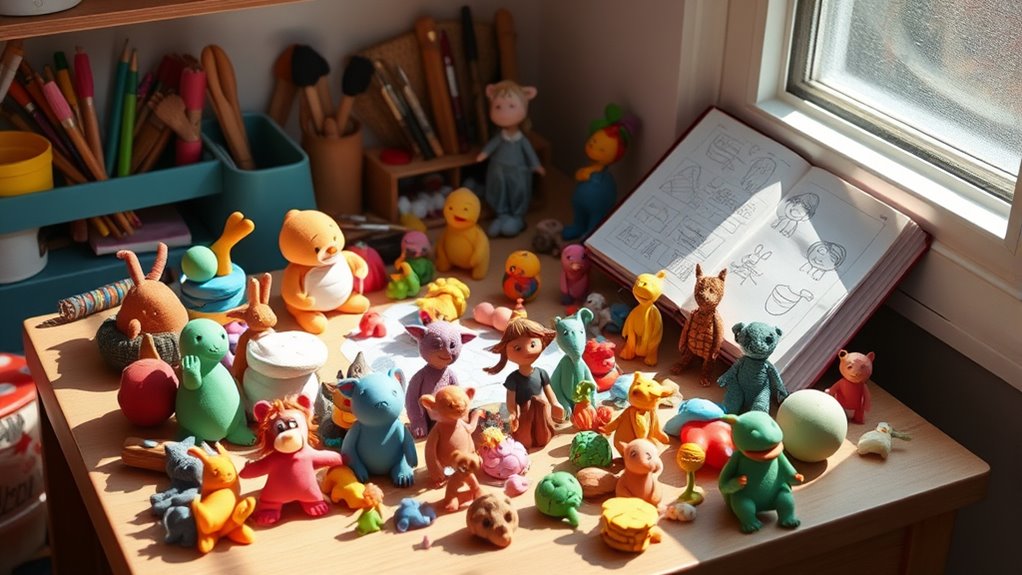
Have you ever wondered how to create your own animated movies without expensive equipment? Making clay animation at home can be a fun and rewarding experience, especially if you learn some basic storytelling techniques and clay material tips. When you’re just starting out, it’s important to focus on crafting a simple story. Think about a little adventure or a funny situation that your characters can go through. Keep your story straightforward, with a clear beginning, middle, and end, so you can focus on bringing it to life through your animation. As you become more comfortable, you can experiment with adding dialogue, sound effects, and even music to make your movie more engaging.
Create simple stories with engaging characters to make your clay animation fun and easy to bring to life.
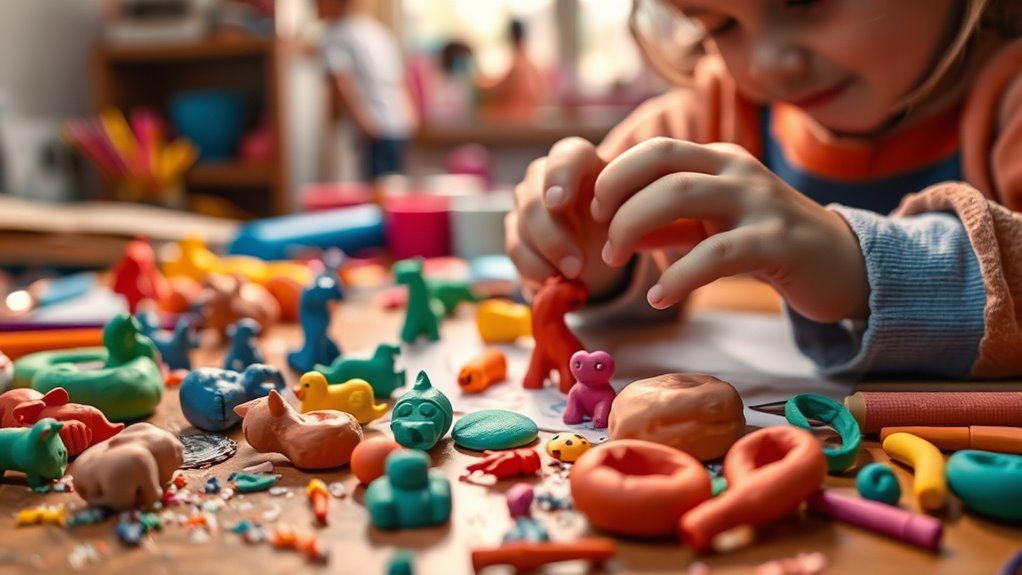
To create smooth, believable movements, you’ll want to pay attention to your storytelling techniques. Planning your scenes ahead of time helps you stay organized and ensures your story flows naturally. Use storyboards or simple sketches to map out each shot before you start animating. This way, you know exactly what you want each scene to look like, making your animation process smoother. When you’re moving your clay characters, do it slowly and carefully. Small, deliberate adjustments will give your animation a more professional look. Remember to take a photo after each move so you can compile these frames into a seamless sequence later.
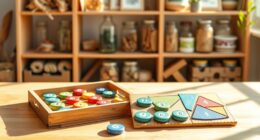
Now, let’s talk about clay material tips. The key to good clay animation is using the right kind of clay that’s easy to manipulate and doesn’t crumble or stick excessively. Modeling clay or plastilina works best because it’s soft enough to shape easily but firm enough to hold its form. Keep a small bowl of water nearby—dipping your fingers in water can help smooth out fingerprints and imperfections on your clay characters. When working with your clay, avoid handling it with dirty or greasy hands, as this can ruin your models. If a piece becomes misshapen, don’t be afraid to reshape or restart it; sometimes, a fresh start improves your overall look. Also, work on a clean, non-stick surface like a glass or plastic board, which makes it easier to move your models without sticking or damaging them. Additionally, understanding the importance of proper lighting can help your scenes look more professional and visually appealing.
Frequently Asked Questions
What Are the Best Types of Clay for Beginners?
When choosing clay for beginners, you want one with a soft, pliable consistency that’s easy to mold without cracking. Look for options with vibrant color choices, so you can create colorful characters and scenes. Polymer clay and air-dry clay are popular because they’re user-friendly, hold their shape well, and come in many colors. These types help you practice without frustration, making your clay animation projects more fun and successful.
How Long Does It Take to Make a Short Clay Animation?
Jumping into clay animation is like diving into the deep end—you’ll find it takes some time! Typically, creating a short animation can take anywhere from a few hours to several days, depending on your animation planning and scene setup. The more detailed your scenes and the more careful your planning, the longer it may take. Patience and practice are key, so don’t rush; enjoy each step of the process!
Can I Use Digital Tools to Enhance My Clay Animations?
Yes, you can definitely use digital tools to enhance your clay animations. With digital editing and animation software, you can add special effects, smooth out movements, and improve overall quality. These tools make it easier to correct mistakes and experiment with different ideas. By incorporating digital editing, your clay animations will look more polished and professional, helping you bring your creative vision to life more easily.
What Are Common Mistakes to Avoid in Clay Animation?
When making clay animations, you should watch out for common mistakes. Poor lighting can cause shadows or flickering that ruin your scenes, so guarantee consistent, bright lighting. Avoid improper armature setup, which can make characters wobble or lose shape. Also, don’t rush your shots—small, steady movements look better. By paying attention to lighting issues and securing your armature correctly, you’ll create smoother, more professional animations.
How Do I Store My Clay Sculptures Between Projects?
To keep your clay sculptures in good shape between projects, focus on proper clay preservation. Store your sculptures in an airtight container or wrap them tightly in plastic wrap to prevent them from drying out. Use sculpture storage tips like labeling each piece and keeping them in a cool, dry place. This helps maintain flexibility and prevents cracking, ensuring your creations stay fresh and ready for your next animation session.
Conclusion
Now that you know how to create clay animation at home, you’re ready to bring your stories to life. Did you know that the global animation industry is expected to reach $560 billion by 2027? With just a few simple materials and some patience, you can join this exciting world of creativity. Keep practicing, experimenting, and having fun—your amazing animated projects are just a few moves away!