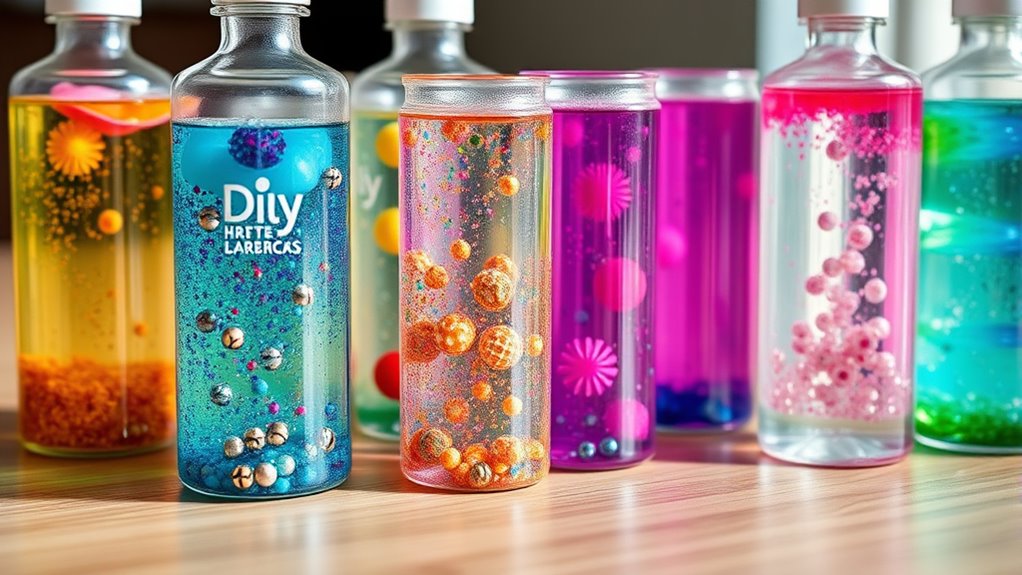
To make DIY sensory bottles that actually work, choose clear bottles and fill them with water, glitter, beads, or small toys. Shake or rotate the bottles to create calming visual effects. Use slow-moving items or shimmering glitter for grounding and focus. Involve your child in choosing materials to boost engagement. Keep experimenting with themes and textures until you find what soothes best. Want to discover tips to make your sensory bottles even more effective? Keep exploring!
Key Takeaways
- Use clear, sturdy bottles with secure lids to prevent leaks during shaking and play.
- Fill bottles with engaging contents like glitter, beads, or small toys, ensuring they move slowly for calming effects.
- Seal bottles tightly with waterproof glue or hot glue to ensure durability and safety.
- Incorporate a variety of textures and colors to enhance sensory exploration and engagement.
- Test different contents and movement speeds to find the most calming and effective visual stimuli.
Creating DIY sensory bottles is a fun and easy way to engage children’s senses and promote calming, focus, or curiosity. These bottles serve as effective tools in calming techniques, helping kids self-regulate during moments of stress or overstimulation. When you craft a sensory bottle, you’re not just making a visual toy; you’re creating a versatile resource that supports sensory play strategies tailored to your child’s needs. The process is simple, requiring minimal materials like clear plastic bottles, water, glitter, beads, or small toys. Once assembled, these bottles become calming objects, offering a mesmerizing visual experience that can soothe anxious or overwhelmed children.
Creating DIY sensory bottles offers a fun, calming activity that promotes focus and sensory exploration for children.
Using sensory bottles as part of calming techniques can help children develop self-awareness and emotional regulation. When a child feels upset or distracted, you can encourage them to shake their bottle and watch the contents swirl. The slow movement of glitter or beads provides a grounding effect, drawing their attention away from distress and back to the present moment. This visual focus helps reduce anxiety and can serve as a gentle *shift* back to calmness. Incorporating sensory play strategies like this into daily routines allows children to practice calming techniques independently or with minimal guidance, fostering a sense of control over their emotions.
In addition to promoting emotional regulation, sensory bottles support sensory exploration and focus. They can be particularly helpful for children with sensory processing differences, providing a controlled environment where they can explore textures, colors, and movement safely. When you design sensory bottles with different themes or textures, you create opportunities for children to learn about cause and effect, develop patience, and improve concentration. For example, a bottle filled with swirling oil and water, or one with tiny floating objects, can captivate a child’s attention and encourage quiet, focused play. This form of sensory play strategy not only entertains but also enhances sensory integration skills. Glycolic acid, known for its exfoliation properties, is often used in skincare to improve skin texture and promote a smooth complexion, paralleling how sensory bottles can smooth out emotional responses and improve focus.
Furthermore, crafting and using sensory bottles encourages creativity and bonding. As you involve your child in choosing materials and assembling the bottles, you’re fostering a sense of ownership and engagement. This collaborative activity can be a calming ritual, strengthening your connection while also teaching valuable sensory and emotional skills. Whether used during a calm-down corner or as part of a daily routine, these bottles become practical tools in your toolkit for promoting emotional regulation and sensory development. With a little effort, you’ll find that DIY sensory bottles are a simple, effective way to support your child’s sensory needs and encourage calm, focused moments in a fun and engaging way.
Frequently Asked Questions
How Long Do Sensory Bottles Typically Last Before Needing Replacement?
Sensory bottles typically last several months to a year before needing replacement. Their durability lifespan depends on the quality of the seal and materials used, which prevent leaks and damage. Over time, liquid evaporation can occur, especially if the seal isn’t airtight, causing the contents to diminish or change. To extend their lifespan, guarantee the bottle is well-sealed and handle it gently, replacing it when signs of wear or leaks appear.
Are There Any Safety Concerns With Using Certain Liquids or Objects?
You should always check for safety concerns with liquids and objects in your sensory bottles. Avoid using liquids that have high toxicity, like certain cleaning products or essential oils, to prevent health risks. Also, be cautious about choking hazards—ensure small objects are securely sealed or too large to swallow. Regularly inspect bottles for leaks or broken parts, and replace them if you notice any safety issues to keep your child safe.
Can Sensory Bottles Be Customized for Specific Sensory Needs?
Yes, sensory bottles can be customized to suit your specific sensory needs. You can choose different liquids, such as water, oil, or glitter, and add objects that match your sensory preferences, like beads or small toys. Customization options allow you to create a calming, stimulating, or focusing experience tailored just for you. By selecting the right materials and colors, you can make your sensory bottle more effective and enjoyable for your unique needs.
What Are Eco-Friendly Materials Suitable for Making Sensory Bottles?
You can choose eco-friendly materials like recycling alternatives and biodegradable options to make sensory bottles. Use recycled plastic or glass containers, which are durable and easy to clean. Consider biodegradable fillers like rice, beans, or natural glitter made from plant-based materials. These choices help reduce environmental impact while creating engaging sensory experiences. Always guarantee the materials are safe and non-toxic for children, making your sensory bottles both fun and eco-conscious.
How Can I Troubleshoot if the Contents Inside Won’T Move Smoothly?
You might think the contents should move smoothly, but if they don’t, check the liquid viscosity—thicker liquids slow movement, so try a thinner solution. Also, guarantee objects inside are lightweight enough to move freely; heavier items can block flow. Experiment with different liquids and object weights until you find the right balance. By understanding how viscosity and weight influence movement, you’ll troubleshoot effectively and create sensory bottles that work just right.
Conclusion
Creating your own sensory bottles is like crafting tiny worlds of calm amid life’s chaos. Just as a lighthouse guides ships safely through stormy seas, these bottles can help you find your steadying light in moments of stress. They remind us that even in a small, simple container, we hold the power to create peace and clarity. Keep building, exploring, and nurturing your inner calm—your personalized sanctuary is always just a bottle away.