To create DIY circuit cards with copper tape, start by planning your circuit layout and sketching it out on paper. Carefully cut and handle the copper tape, pressing it firmly to keep connections secure and avoid gaps. Use straight edges for clean lines and test continuity with a multimeter before adding components. Experiment with crossing paths through copper tape bridges, and keep practicing to improve your results—following these tips will help you craft professional-looking circuit cards, and there’s more to discover as you continue building.
Key Takeaways
- Plan your circuit layout carefully using sketches or digital tools before applying copper tape.
- Handle copper tape with care, pressing firmly to ensure strong, gap-free electrical connections.
- Use straight edges and smooth curves for neat, reliable copper tape pathways.
- Test circuit continuity frequently with a multimeter during assembly to catch issues early.
- Incorporate bridges or crossings with small copper tape pieces for complex circuit designs.
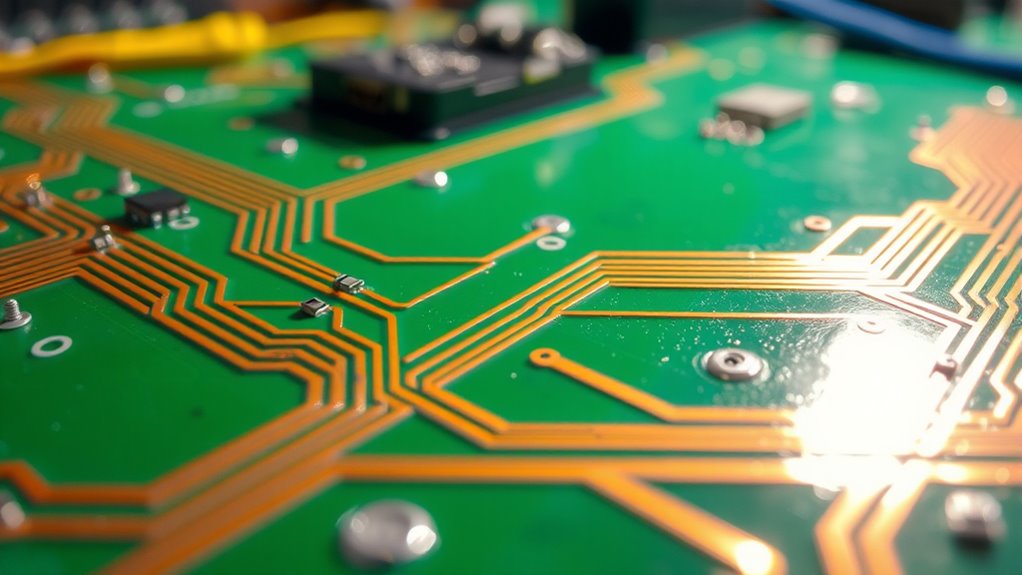
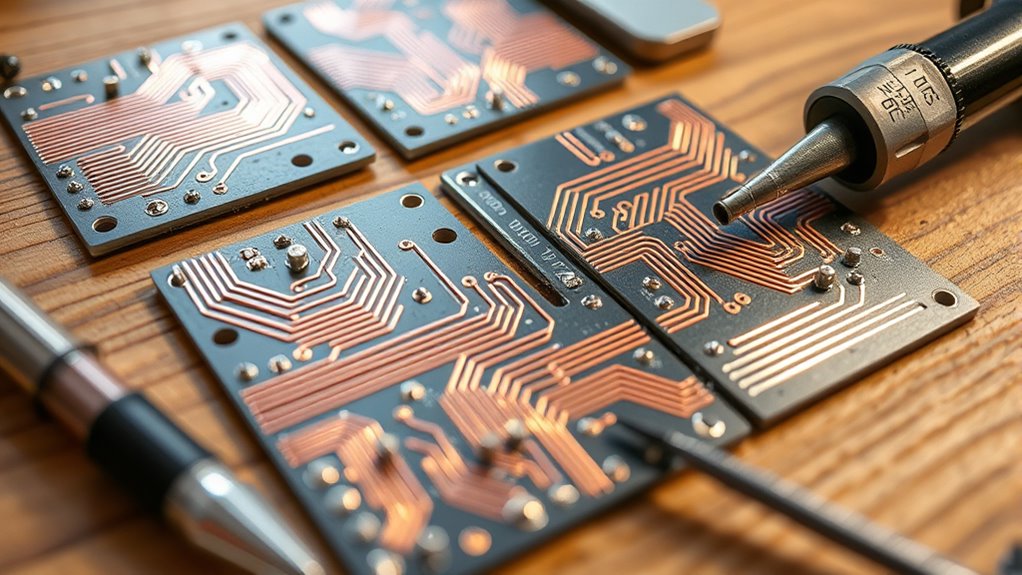
Creating your own circuit cards is a rewarding way to bring electronic projects to life. When you start working with copper tape, you’ll discover how versatile and accessible it is for creating custom circuits. Copper tape techniques are key to guaranteeing your circuits are reliable and neat. You can easily cut the tape into precise shapes, allowing you to design intricate paths without the need for traditional soldering. To maximize your success, always handle the copper tape carefully, making sure the adhesive side sticks firmly to your substrate. Press down firmly along the entire length of the tape to prevent gaps or loose connections that could cause circuit failures. When applying copper tape, it’s helpful to use a straight edge or a ruler to keep your lines clean and consistent. This not only improves the aesthetic of your circuit but also enhances conductivity. Keep in mind that sharp bends or creases in the tape can disrupt electrical flow, so try to keep curves smooth and gradual. Proper circuit design planning can also help you avoid mistakes and ensure your project functions correctly. As you embark on circuit design tips, focus on planning your layout beforehand. Sketch your circuit on paper or use digital tools to visualize how components will connect. This planning helps you avoid mistakes later and guarantees your circuit functions as intended. When placing components, make sure to leave enough space for wiring and future modifications. Use small pieces of copper tape to create bridges or connections where needed, especially when crossing paths. Testing your circuit as you build is essential. Use a multimeter to check continuity along your copper traces before attaching delicate components. This way, you can catch issues early and avoid troubleshooting complex problems later. When attaching components like LEDs, resistors, or sensors, soldering might be necessary for secure connections, but for many simple circuits, conductive adhesive or press-fit connectors work well. Incorporating these copper tape techniques and circuit design tips makes the process more straightforward and rewarding. With patience and practice, you’ll develop a steady hand and an eye for detail that assures your circuit cards work perfectly. Keep experimenting with different layouts, and don’t be afraid to troubleshoot and refine your designs. As you gain more experience, you’ll discover how to layer copper tape for more complex circuits or incorporate other materials to add functionality. Remember, the key is precision—measure twice, cut once, and test often. By mastering these techniques, you’ll turn a simple sheet of copper tape into a professional-looking, functioning circuit card that showcases your creativity and technical skills.
Frequently Asked Questions
What Safety Precautions Should I Follow When Working With Copper Tape?
When working with copper tape, you should prioritize electrical safety by avoiding contact with live circuits and using insulated tools. Always guarantee proper insulation of exposed connections to prevent shorts or shocks. Keep your workspace dry and wear protective gear like gloves and safety glasses. Double-check your circuit before powering it up, and work in a well-ventilated area. Following these precautions helps keep you safe during your project.
Can I Reuse Copper Tape After Removing It From a Circuit Card?
Think of copper tape reuse like recycling treasure. After circuit card removal, you can often reuse copper tape, but it depends on its condition. If it remains sticky and undamaged, you can carefully peel and reposition it. However, repeatedly removing and reapplying may weaken its adhesive, reducing conductivity. So, inspect the tape’s integrity closely before reusing, and be prepared to replace it if it shows signs of wear.
What Tools Are Essential for DIY Copper Tape Circuit Projects?
You’ll need essential tools like a good pair of scissors or a craft knife to cut copper tape precisely. Soldering techniques are crucial for securing connections, so a soldering iron and solder are necessary. Circuit design software helps plan your project before assembly, ensuring accurate layout. Additionally, tweezers and cleaning supplies keep your work neat. These tools make DIY copper tape circuit projects manageable and professional-looking, enhancing your overall success.
How Do I Troubleshoot Common Issues in Copper Tape Circuit Cards?
Ever wondered why your circuit isn’t working? Troubleshooting common issues in copper tape circuit cards involves checking circuit continuity with a multimeter and ensuring proper tape adhesion. You should look for gaps or breaks in the tape that interrupt the circuit and reattach loose sections securely. By systematically testing and fixing these problems, you’ll restore your circuit’s functionality and prevent future issues. Keep patience, and you’ll master troubleshooting in no time!
Are There Environmentally Friendly Alternatives to Copper Tape?
Are there eco friendly alternatives to copper tape? Yes, you can explore sustainable materials like conductive fabric, carbon-based inks, or biodegradable conductive adhesives. These options are environmentally friendly and can serve as effective alternatives for creating circuit connections. By choosing eco friendly alternatives, you help reduce environmental impact and promote sustainability in your projects. Always consider the conductivity and compatibility of these materials with your specific circuit design for the best results.
Conclusion
Now that you’ve mastered creating DIY circuit cards with copper tape, your projects can truly shine. Every connection you make, every pattern you craft, builds your confidence and sparks your creativity. Think of this craft as a dance—each tap, each trace, moving in harmony to bring your ideas to life. So keep experimenting, stay curious, and let your imagination lead the way. After all, the power to innovate is right at your fingertips.

With a vivid imagination and a love for words, Hella crafts stories and guides that ignite curiosity and inspire both children and parents. Her talent for storytelling is evident in every piece she writes for Healthy Kid Play. Merging her understanding of children’s needs with creativity, Hella’s writings are both informative and enchanting.